

In my research for this article I found that there are two definitions (so far) of “Trigger Slap.”
The first definition entails where the trigger actually “slaps” your finger as the bolt runs during firing. The second definition that I found is where the shooter removes his or her finger from the face of the trigger after taking a shot and “slaps” the finger back to the face of the trigger before taking the next shot. The former is not what I am going to present in this article.
Trigger Slap, in the sense of what I am about to present, should actually be termed “Slapping the trigger” because this would be better to describe what is happening. There are also techniques that we can use to eliminate slapping the trigger.
There does need to be some clarification before I proceed, however. Shotgun triggers are meant to be slapped (or snapped if you prefer). Squeezing a shotgun trigger while attempted to take out flying clay or bird usually results in a miss. However, I am presenting information about handguns in particular.
Trigger control is the most important component of firearms manipulation due to its complexity and effect on hit ratio.
Jerking or slapping the trigger will alter the position of your sights on target at the most critical point in the firing cycle.
Follow through is addressed in greater detail in another section however; in this section we will address the aspects of trigger control that are inherent to the recovery stages of the firing cycle.
The majority of the problems that shooters encounter are from poorly fired shots, not poorly aimed shots.

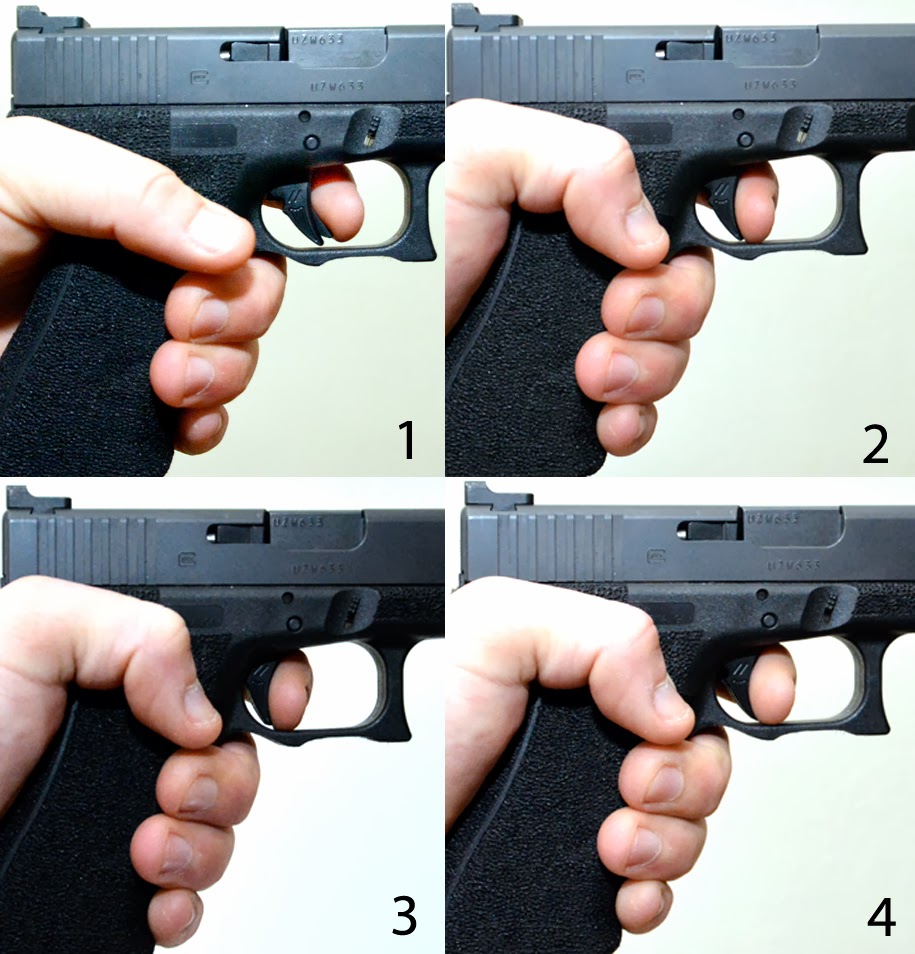
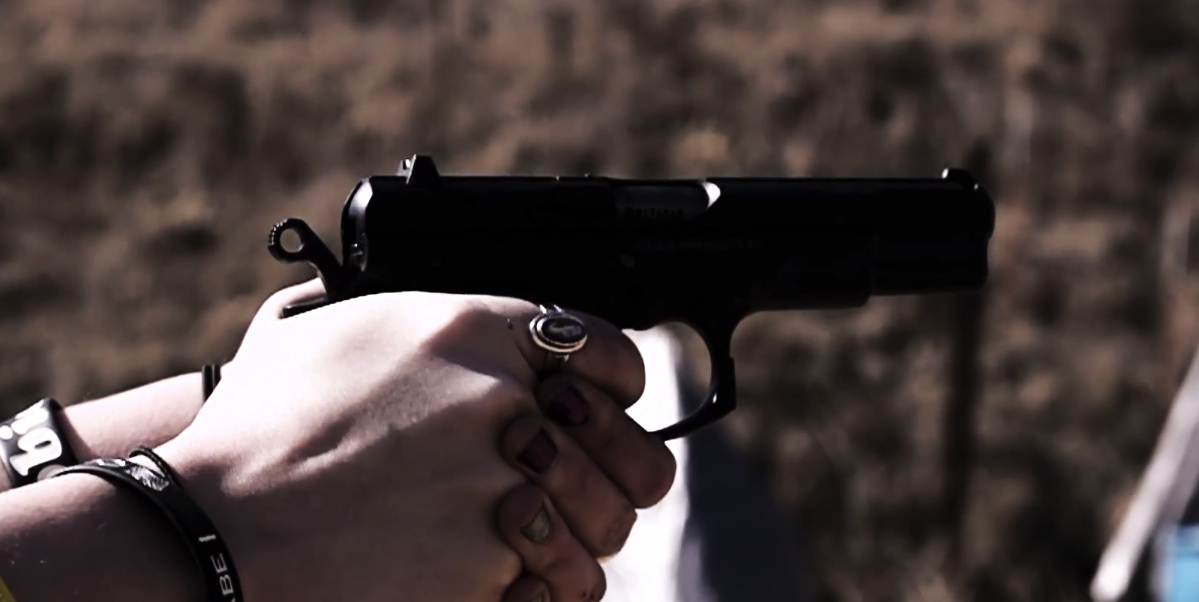
Finger position on a trigger is important. However, the shooter must find what works best for them.
Trigger control is defined as the proper application of continuously increasing, positive, rearward, even, and uninterrupted pressure upon the firearm trigger by means of centering the first pad of the trigger finger on the trigger while maintaining optimum sight picture and avoiding lateral pressure to the firearm, until the hammer falls and the firing process is completed.
Smoothing the trigger pull on a revolver is more difficult than with a pistol.
Dry fire is the key to acquiring this skill. Trigger control does not mean a SLLLOOOWWW squeeze to the rear; it means smooth continuous pressure to the rear until the break point is reached. Once the break point is reached, ride the trigger back to its staging position. Every attempt should be made to keep the surface of the firing finger in contact with the trigger.
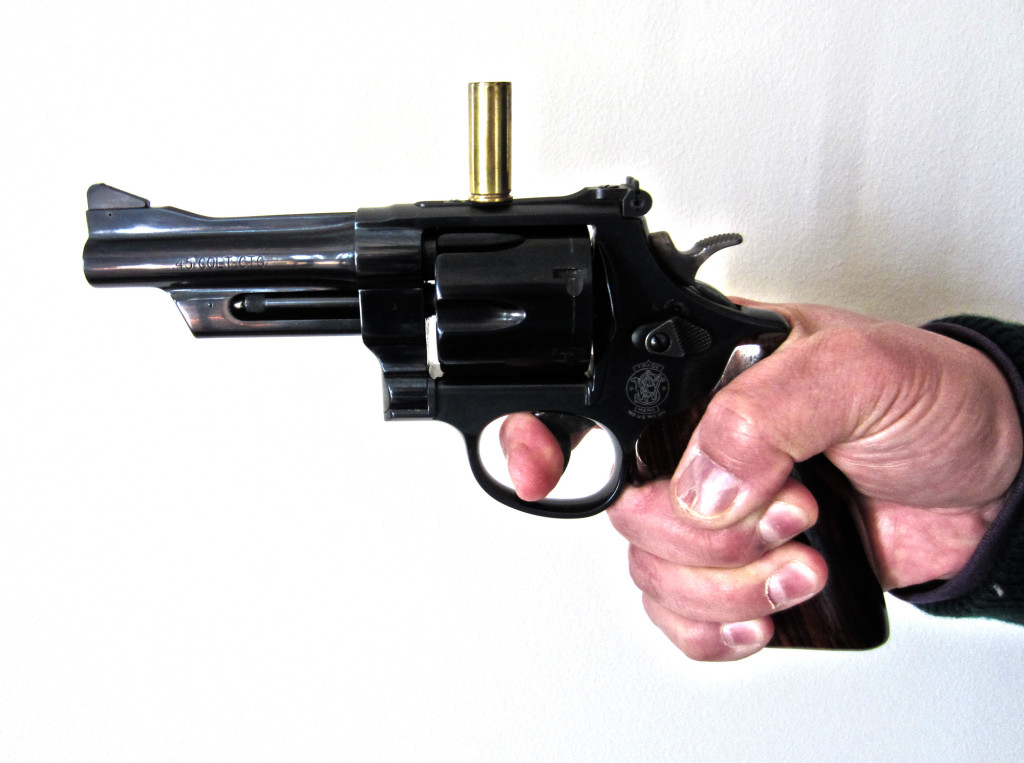
The double-action revolver is unique in that trigger control can be achieved in two ways; one for slow fire and one for fast fire.
Upon the initial pull of the double-action trigger, you will see two things happening at once; the cylinder turning and the hammer moving rearward. There is a point where the cylinder locks up, which causes a slack in the pull of the trigger. After this slack is reached, the revolver essentially acts as a single-action revolver where further movement of the trigger rearward allows the hammer to fall. During fast fire, the shooter works past this slack point by a continual trigger pull without hesitating until the hammer falls and the bullet exits the barrel.
With slow fire, the shooter pulls the trigger back to the slack point and stops the trigger pull while holding the hammer in position. This is a point where the cylinder locks into place. The operator can then verify target and sight alignment, and then completes the trigger pull until the hammer drop. Surprisingly, and with practice, this slack point can be held for a long time because the tension on the hammer and trigger is somewhat less. However, most shooters just maintain constant pressure on the trigger (as with fast fire) and simply work through the slack point without hesitation.
I have used the slack point, or “staging point”, on many occasions when shooting bull’s-eye matches when time allows for some “slack” in the course of fire.
Pistols lend themselves to fast fire techniques
Dry fire is the key to acquiring this skill. Trigger control does not mean a SLLLOOOWWW squeeze to the rear; it means smooth continuous pressure to the rear until the break point is reached. Once the break point is reached, ride the trigger back to its staging position. Every attempt should be made to keep the surface of the firing finger in contact with the trigger.
Note that not all pistol triggers exhibit the same pull characteristics. With some, there may some take-up (no resistance), resistance, and then a crisp trigger break. On other pistols, there may be some take up, resistance that feels “spongy” to the touch, and either a soft or crisp break. The operator must be able to work with the trigger that the pistol has at the time of operation. Many pistol owners modify the pistols trigger by lightening the trigger pull or having a better, crisper trigger installed.
It should be noted that all pistol triggers have over-travel to one degree or another. Over-travel is a term that means once the hammer falls or a striker is release, the trigger will continue rearward for a distance. Some pistols have a very small amount of over-travel while others have a large amount of over-travel. In some pistols, the over-travel distances can be adjusted by moving a set screw that is in the trigger itself. Adjustment is best left to a qualified gunsmith as taking too much over-travel out of the pistol can cause the pistol not to fire. A qualified gunsmith, like a qualified auto mechanic, can tell when the proper adjustment is attained to ensure a properly running machine.
Find the Trigger Break Point; that point that send the round downrange.
After a smooth trigger pull is mastered you must learn where the trigger breaks. This break point should not come as a surprise. Shooters should know the break point intimately. This knowledge will help you time your shots to coincide with full presentation of the pistol; when the decision to fire has been made before the weapon is presented to the target. This skill will also aid you in a split second decision not to fire should the target change before the shot breaks.
Dry-firing will aid you in determining where the break-point is during the trigger pull cycle on your particular pistol or revolver. In some cases, and especially with some pistols, the break point may be hard to detect – but it is detectable in all cases – you just have to find it and work with it.
Finding the Trigger Rest Point, enables you to send multiple rounds downrange quickly
The reset point is where the sear is re-engaged after the previous shot has been fired.
For a revolver, the reset point is darn near at the beginning of the trigger’s travel. For a pistol; however, the reset point can be easily detected.
Move the slide to the rear while holding the trigger to the rear. Slowly return the slide to battery (fully forward) while holding the trigger rearward with your trigger finger.
Note that with some pistols, trigger reset is very quick; just moving the slide rearward about ½” is enough to set the trigger for firing.
After the slide has been cycled, slowly let the trigger forward until you feel and/or hear an audible click. This is the point where the trigger and sear engage. The firearm is now ready to be fired again.
At this point there may be some slack in the trigger. This slack is the initial take-up of the trigger that must be removed before encountering the trigger’s break point. The object is to lessen the amount of slack as much as possible for the next shot.
Although “Dry Cycling” a pistol can help you determine where the reset point occurs, shooting the firearm will help you better determine where the reset point is – the point at which the pistol allows you to take the next shot. Note that on the range, or during a defensive situation, you may not hear the reset point – you must learn to feel it in the trigger finger. During initial practice, fire each shot slowly and keep the trigger held rearward until the slide goes into battery for the next shot. Then, slowly allow the trigger to go forward until the reset point is reached. Repeat as necessary. Allow frequent breaks to rest your trigger finger and allow the mind to soak in some of this knowledge and sensory perception. After a while, you will develop muscle memory and will be able to determine how much to let off of the trigger between shots. When you are satisfied, begin adding speed to the exercise. From there you can move into double-taps (two shots as quickly as possible while keeping the bullets on the target) and then move on to more advanced shot strings (1-2-3, 1-2-3-4, 1-2-3-4-5, etc.). Remember that you are building speed and accuracy – both of which take time and practice to master.
FOLLOW THROUGH:
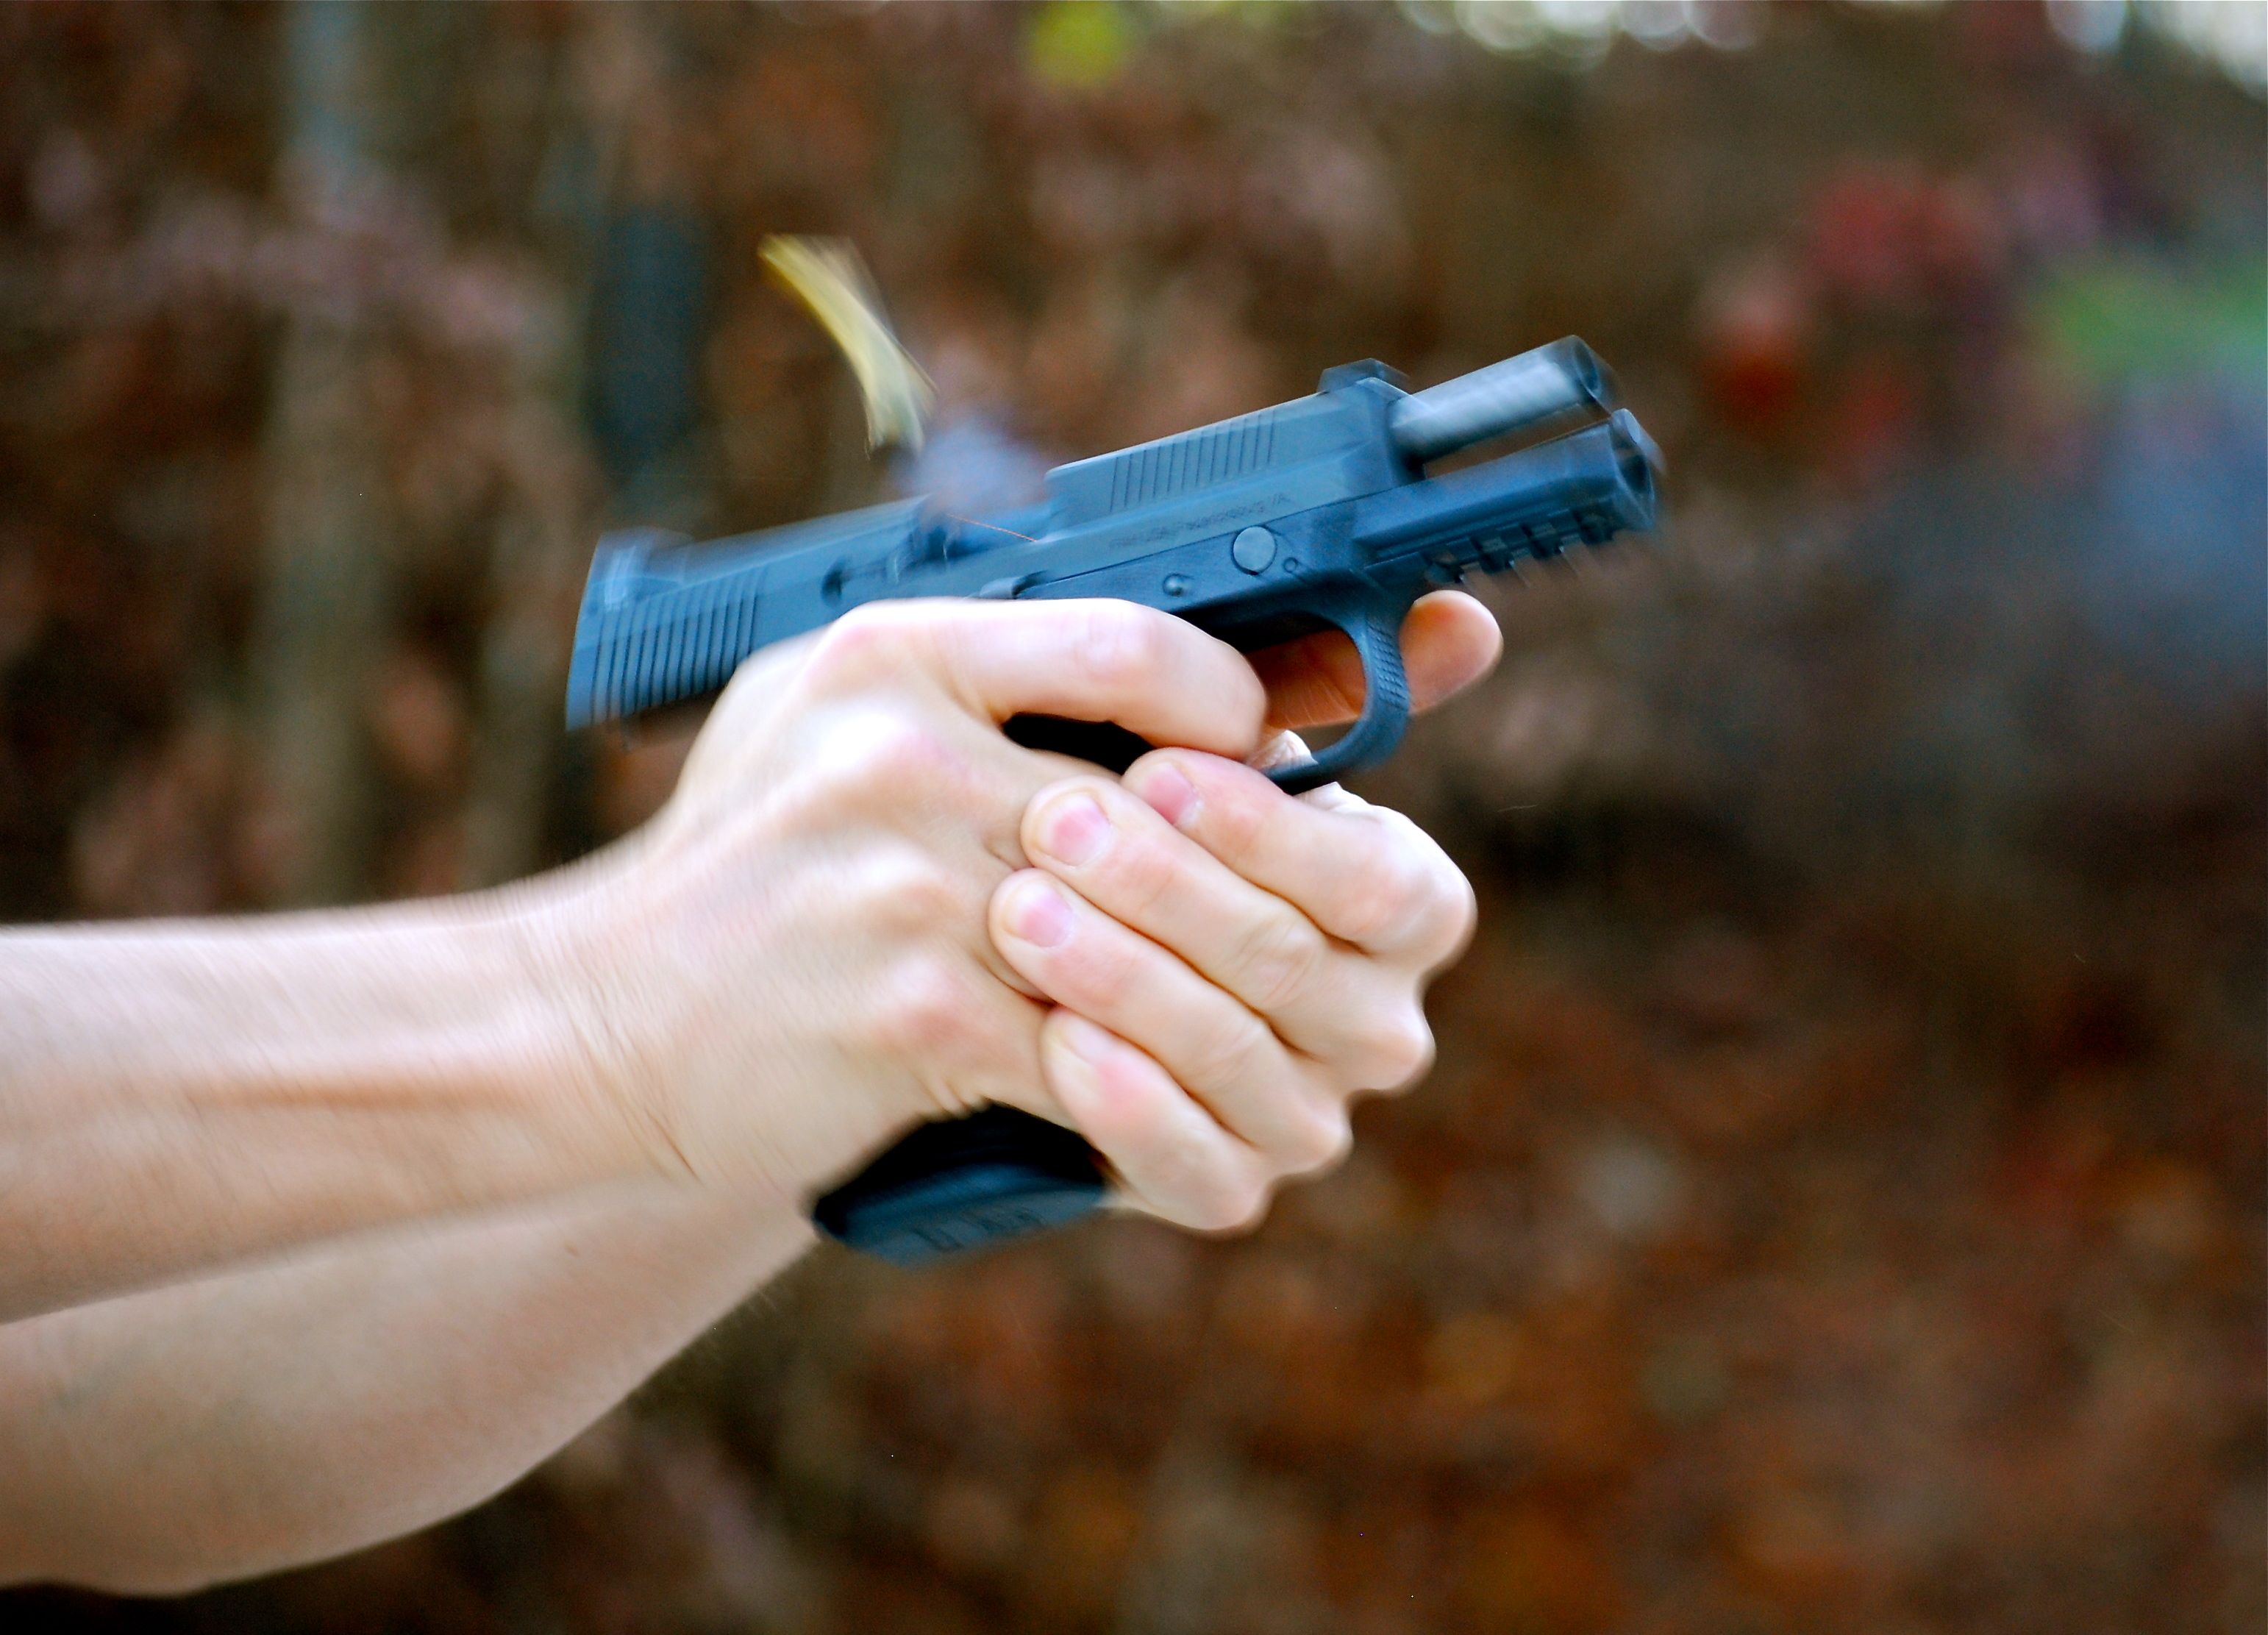
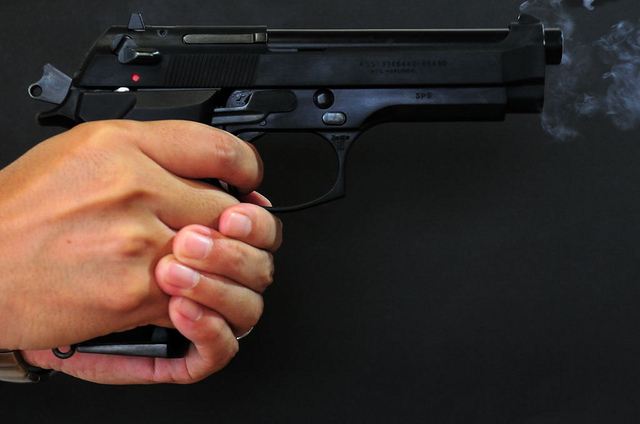
Controlling recoil is essential for fast and accurate multiple shots
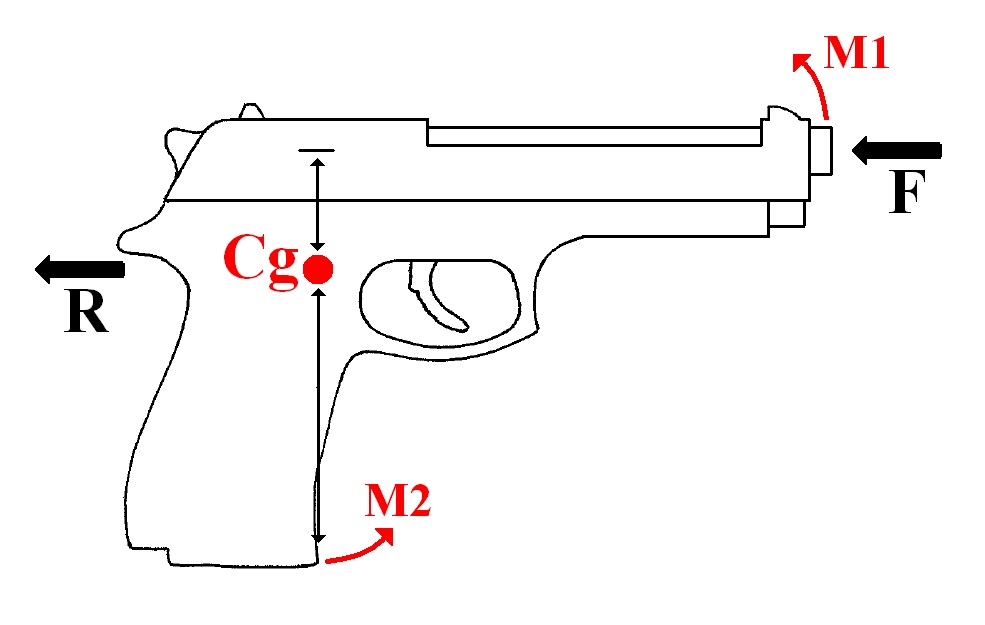
Recoil exerts force in several directions
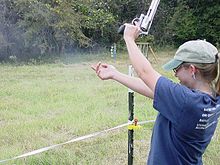
With some recoil, control is simply trying to hang on to the firearm!
There are three follow through stages:
Note that I present the information that follows in the “tactical” sense. After all, defending ourselves from an attack is what we are training for as a concealed carrier.
- Watch the front sight until the weapon is fired.
- Re-establish sight use immediately (both sight alignment and sight picture) and prepare to shoot again if necessary. Maintain trigger finger contact on the trigger after resetting the trigger.
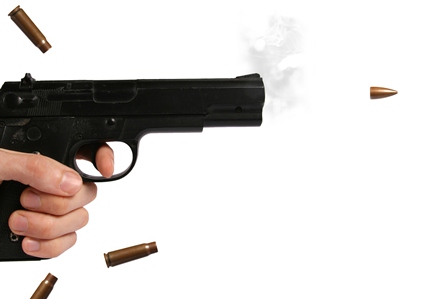
The attacker you shot may require multiple shots to stop life threatening activity.
Just because you shot does not mean: (1) that you hit your attacker. (2) That you incapacitated your attacker to the point that he /she no longer poses life threatening activity.
How many shots should you fire at someone who is trying to kill you? There is no set number of shots to fire. You shoot until that individual no longer poses life threatening activity to you. You shoot until the problem is solved.
Every person that is shot will react differently. Your attacker may be drunk or on drugs and may never feel the impact of the bullet even on a well placed shot. It may take 12 – 15 seconds for him/her to bleed out and they could still be cutting at you with a knife or shooting at you with their pistol. Even if you make a well placed shot or two, that doesn’t mean the fight is over and you have won! Make sure the problem is solved before you re-holster!
Ask yourself: do I need to take another shot? If so will I hit my target? Assess the situation.
- Scan the surrounding area immediately for other life threatening targets.
Do I practice all three all of the time. Of course I don’t. I don’t remain in the tactical mindset 24/7. There are times at the range when I shoot simply for the relaxation of doing so. I may also be evaluating a handgun; whereas, I may invoke stages one and two during the evaluation (multiple fast-fired shots). Stage 3 (Scan the surrounding area immediately for other life threatening targets) is included when I am seriously training for counter-offensive attacks.
Regardless, I attempt to keep the trigger finger in contact with the trigger until it is deemed unnecessary to do so.
CONCLUSION:
 Shooting a firearm is both an art and a set of skills. I rarely (unless justified) blame the firearm for poor results on the target. In my own shooting practice, I find myself asking, “What am I doing wrong?” The answer usually lies in slowing down and going back to the basics. I usually catch myself incorrectly pulling the trigger, gripping the firearm incorrectly, or falling into bad habits.
I, like many others, do not shoot on a daily basis. I do shoot (now) on a weekly basis and sometimes with multiple firearms. As I get older, you would think that I should shoot better than I do. That is not necessarily true; age interjects its own set of problems that have to be contended with.
This article was as much of a reminder to me as I hope that it is to you regarding trigger control and how important it is. Learning how to properly run the trigger is only one part of the skill set that we have to master when shooting firearms, and especially pistols and revolvers.
I hope that the things mentioned in this article, and your own practice, will help make you a better shooter of your favorite packing pistol.
![]()